Understanding microcurrent rather than just using it: What to expect from the new online course (live event, autumn 2025)
You are currently viewing a placeholder content from YouTube. To access the actual content, click the button below. Please note that doing so will share data with third-party providers.
More InformationMicrocurrent is fascinating for many users – and yet, at the same time, it can be confusing. Not because it has to be ‘complicated’, but because, in practice, several different aspects often come into play: physics (current, voltage, impedance), biology (membranes, osmosis), clinical experience (acute vs. chronic) and very practical procedures (electrode placement, parameter selection, interpretation of measurement curves).
This is precisely where the new online course comes in. The content was recorded at a live event in autumn 2025 and subsequently organised into: as video lessons that organise the fundamentals, explain the practical logic and present typical case studies in such a way that you can actually replicate them – without getting lost in ‘equipment myths’ or mere lists of frequencies.
Why a course – when it’s ‘just electricity’?
A recurring theme in the transcripts is that microcurrent does not function as a single ‘magic button’. The effect is not produced by adjusting a single parameter (e.g. frequency) alone, but through the interplay of several parameters.
This is described very vividly in a comparison from the lecture:
“…I always like to describe it as an orchestra of parameters – frequency, current, waveform, voltage and, accordingly, polarity… A single instrument may sound good on its own, but it is the orchestra as a whole that ultimately … sets the actual tone.”
(PW_Day_1_Transcript, 01:40:28–01:41:15)
This is the central theme of the course: understanding parameters → justifying decisions → making applications more reproducible.
The basics that really matter in practice: current, voltage, resistance/impedance
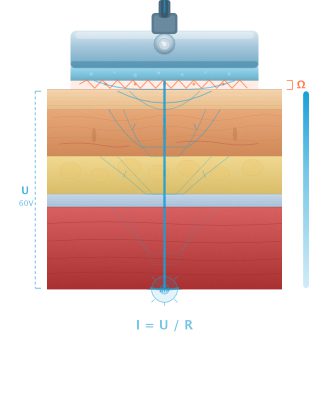
In many discussions about microcurrent, the focus is primarily on ‘microamperes’. The course deliberately puts this into context: current is important – but without voltage, resistance/impedance and the tissue conditions, the picture remains incomplete.
In the transcript, this is explained using a very clear analogy:
“Everyone always talks … only about current. But people tend to forget about voltage … I always compare it … to a water pipe. … The amount of water is the current. The pressure with which the water is pumped through the hose … is the voltage.”
(PW_Day_1_Transcript, 01:27:52–01:28:18)
And then comes the direct application of this analogy:
“We need … the voltage to … ionise the outermost layer of skin, to reduce the resistance there, so that we can actually penetrate deep into the tissue…”
(PW_Day_1_Transcript, 01:28:18–01:28:49)
In short: on the course, you’ll learn which parameters you can adjust, which ones the device controls automatically – and why this is still relevant for treatment planning.
Signal waveforms, measurement pauses and ‘measurement points’: Why your curve looks the way it does
A major practical section of the course focuses on measurement curves and how to interpret them. To begin with, it explains what many devices do technically (and why you see these points on the graph):
“…for a certain period, it’s like a rectangle, during which the therapy is… delivered. Then there’s a very short pause, during which measurements are also taken… These are the measurement points you see in the diagrams.”
(PW_Day_1_Transcript, 01:34:06–01:34:28)
This forms the basis for a particularly practical aspect: the signal rise (‘ramp’) in the FSM context. In the transcript, this is very clearly linked to clinical situations:
“…in the field of FSM … you can … adjust this ramp… to gentle, medium or steep… The steep rise is … used particularly for chronic conditions, whilst the … gentler rises tend to be used for inflammatory or … irritated tissue.”
(PW_Day_1_Transcript, 01:34:51–01:35:27)
In the course, this is translated into a concrete decision-making process: assess the state of irritation → select the appropriate signal characteristic → monitor progress → make targeted adjustments.
Frequencies: ‘Key and lock’ – and why frequency never works on its own
Frequencies play a central role in the course – but not as a ‘checklist’. Rather, they form part of a system comprising frequency, device, dosage and signal shape.
The transcript describes it as follows:
“Every tissue has its own physiological frequency, and every … pathology also has its own frequency. And when we combine this … in a way that is tailored … to the respective tissue, we receive … the response from the tissue…”
(PW_Day_1_Transcript, 01:32:26–01:33:15)
And immediately after that comes the important sentence that grounds many discussions:
“But there’s one thing you must bear in mind: the frequency is only part of the overall effect.”
(PW_Day_1_Transcript, immediately following 01:33:15)
It is precisely this approach that runs through the course: frequencies are explained in practical terms, but always anchored within the bigger picture (‘orchestra’).
Reading measurement curves: from the diagram to the clinical decision (without dogma)
A highlight of the transcripts is the highly practical description of how measurement curves were produced and how a classification system or working method was derived from them. This is not presented as an ‘absolute truth’, but as a process based on experience from which a procedure has developed:
“…I started receiving such diagrams… and … converted them into curves on the computer… and I … assigned them to the organs or to the clinical picture… [das] provided me with … information: When do I need to polarise, and how? With which polarity … when, for how long…?”
(Transcript_Voracek_Day_1_Part_1, 00:22:40–00:23:29)
The course is not about ‘polarity as a matter of faith’, but about practical applications: What does the curve show? What fits the clinical picture? What is a sensible next step?
Treatment concepts, biophysics and the ‘Davos’ principle: where it really counts…
The course deliberately includes sections on biophysics – not as an end in itself, but to help participants better understand certain phenomena (e.g. immediate reactions, sensations of warmth, fluid behaviour).
A very straightforward application principle is summarised in the transcript as follows:
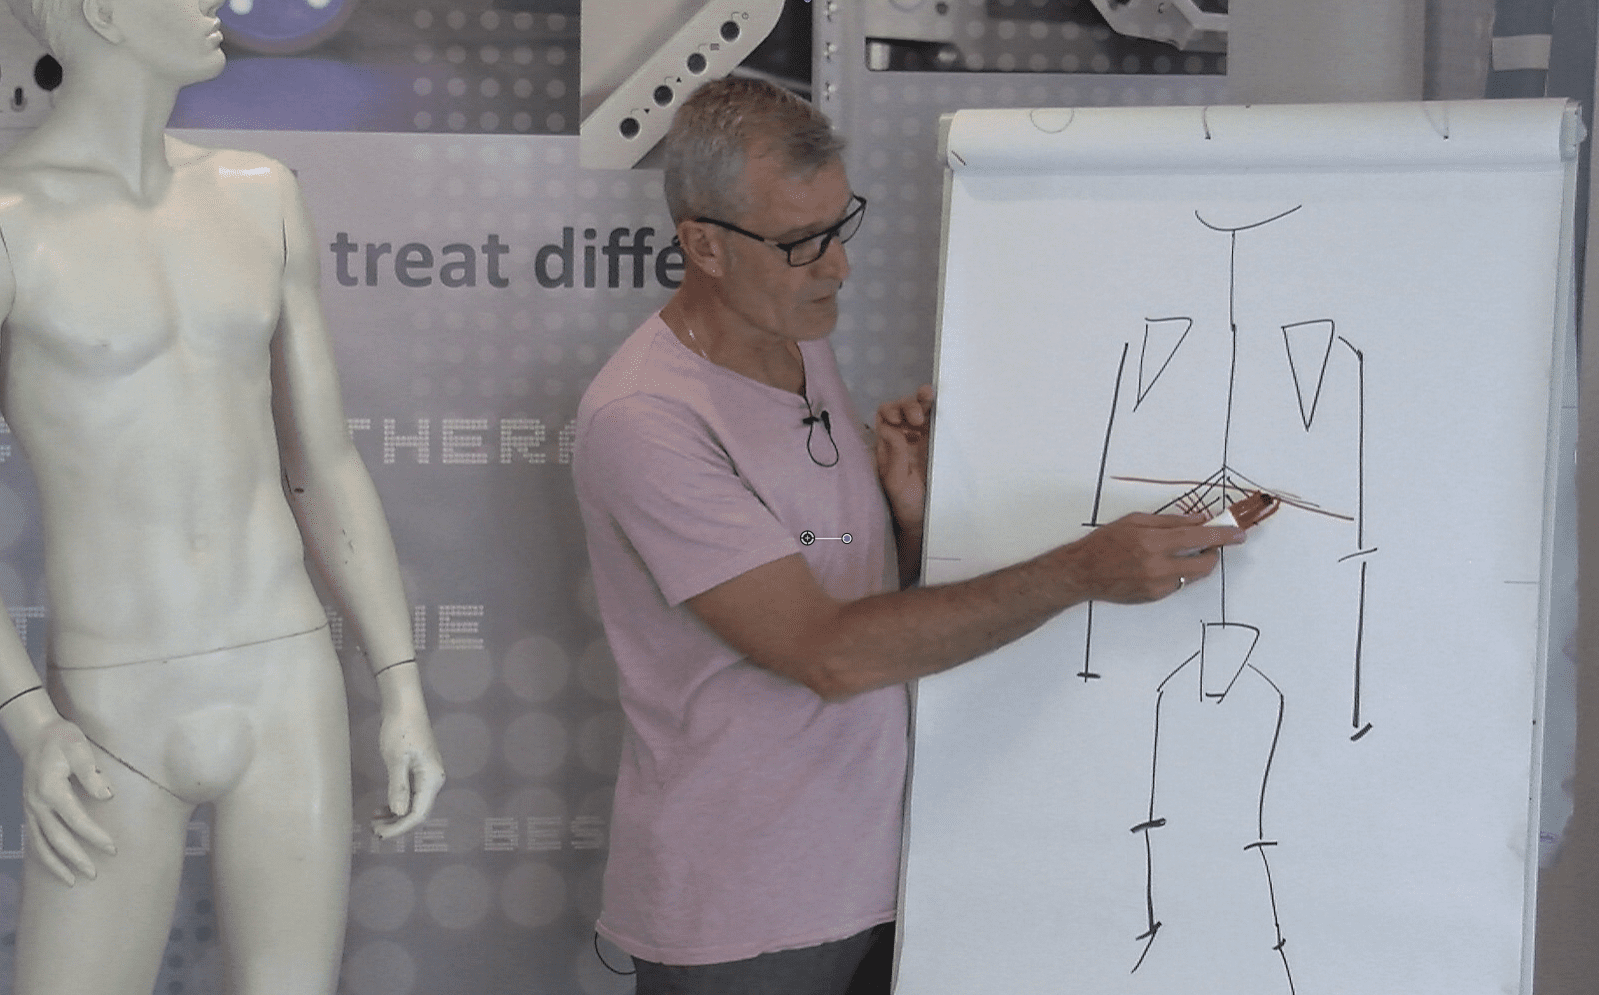
‘…we try … to channel the current through the painful area… It’s called the Davos concept. Wherever it hurts, that’s where the current must pass through… thermodynamic processes … combined with … changes in osmotic conditions … ensure that microcurrent … can actually produce these immediate effects…’
(Stueker_Day_1, section on the Davos Concept)
Important: The course uses such models to make the procedures plausible (application, dosage, parameter selection) – without deriving blanket promises of a cure from them.
Case studies you can ‘replicate’: shoulder/bursitis, Achilles tendon, chronic wounds
To ensure that theory does not remain abstract, numerous cases are discussed in the course. The added value lies less in ‘wow’ moments and more in the decision-making logic:
-
Which configuration (transverse/longitudinal/coupled)?
-
Which parameters to use at the start – and why?
-
What changes over the course of treatment (subjective/objective, curve, stimulation status)?
-
When to switch, and when not to?
Example: shoulder/bursitis (transverse placement):
“…the two key curves responsible for bursitis… These are essentially this transverse configuration…”
(Transcript_Voracek_Day_1_Part_2, 00:11:33–00:12:06)
Example: Achilles tendon (longitudinal + transverse):
“…the alignment … of the Achilles tendon is always longitudinal and transverse… Logically.”
(Transcript_Voracek_Day_1_Part_2, 00:05:27–00:06:12)
Example: chronic wounds/diabetic ulcer (as observed in practice):
“…diabetes mellitus … circulatory disorder, neuropathy … ulcer on the heel … after the first session … just look at the edges of the wound…”
(Transcript_Voracek_Day_1_Part_2, 00:10:01–00:10:36)
The course makes a clear distinction between observation, interpretation and what can be learnt methodically from a case (conditions/parameters/progress).
Who is the course intended for?
The course is particularly suitable for therapists and practitioners who…
-
wish to apply microcurrent more systematically (rather than by ‘trial and error’),
-
want to gain a better understanding of measurement curves, signal shapes and parameter selection,
-
wish to integrate frequencies effectively into an overall approach,
-
and wish to establish clear, repeatable procedures in practice (set-up → parameters → re-evaluation).
What you’ll take away from the course (without the marketing hype)
If I had to summarise the common thread running through the transcripts in a single sentence, it would be this:
In this course, microcurrent is taught as a learnable craft – with physics as its foundation, biology as its interpretation and real-world cases as the training ground.
Or, to use the ‘orchestra’ analogy again: you’ll learn which instruments you have, how to tune them, and when to turn which one up or down.
Note on context
This article summarises the content of a continuing professional development course and quotes speakers from live transcripts. It is not a substitute for medical diagnosis or individual treatment decisions. Case studies are observations from clinical practice and cannot automatically be generalised.